This writing presents steps to make a solar light. DIYing a solar light is never easy like this.
You can use your DIY solar light to decorate your home for any occasion or permanent lighting.
There are different types of lights that you can always buy at your local store and light up your house. But you can make yourself a lovely solar light at home for less than $25.
These top 10 solar light ideas for DIY will help you better envision which solar light you should make. But all of those solar lights will have some common steps to DIY.
Now, let’s explore our 10 steps for DIYing a solar light.
Contents
Beginning Thoughts
Before jumping into the step-by-step section, we will walk you through some concepts you might need during this article. And also want to brief you about solar energy and modern life.
Suppose you have already read our solar energy 101 article. You can just bypass this section.
Solar Energy
We live in a world where solar energy has become a daily norm. Solar energy has more advantages than disadvantages. They do not use fuel to operate.
All you need is to install them at your residence, and from there, you are good to go. Your house will be well powered if the sun is out and shining.
Although clients still complain that solar energy is still expensive, they live in an area that receives less solar energy. But that is not the case; using solar energy saves you a lot of money in the long run.
10 Easy Steps To Make A Solar Light
Building a solar light has never been so hard. It does not require any technical or electric knowledge to get yourself a solar light. You can follow our instructions, and you will be good to go.
What is Required
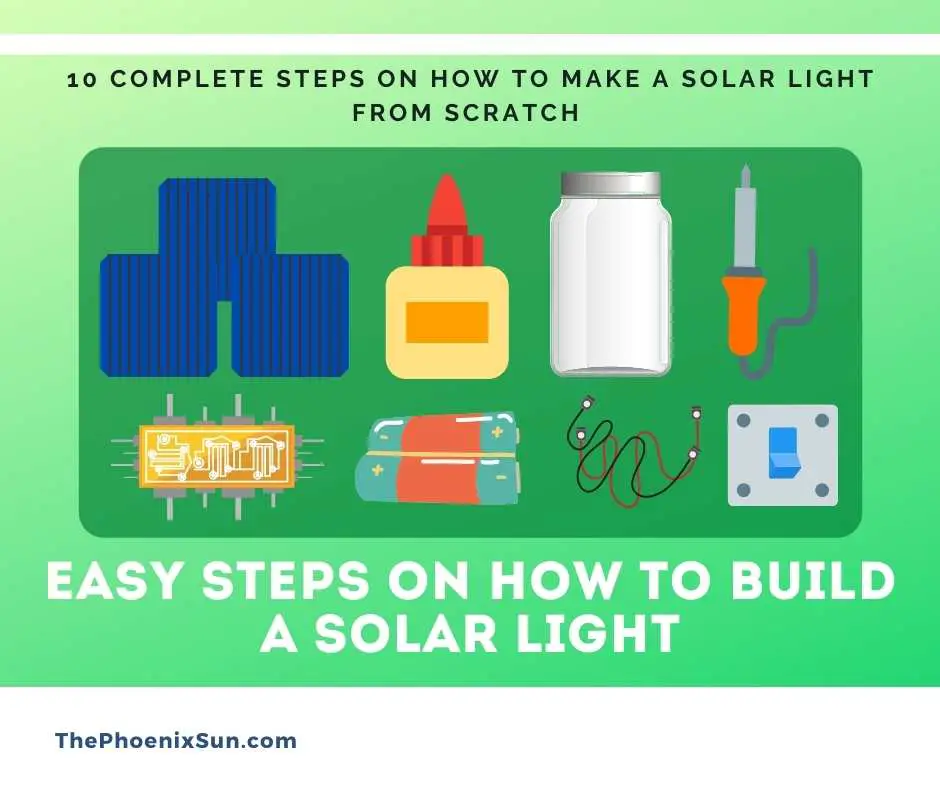
Here are the parts and tools you need: Hot glue gun or superglue, Jar, Led lights, Soldering machine, or wire nut, Battery holder, Solar panel 2Volts max, AA or AAA NiMH batteries, PCB circuit board with a dusk to dawn regulator switch.
To DIY a solar light, you will need some products.
- Hot glue gun or superglue
- Jar
- Led lights
- Soldering machine
- Battery holder
- Solar panel 2Volts
- AAA NiMH batteries
- PCB circuit board
A drill is to pierce the jar. If you are skillful when it comes to wires, you can also use the wire nut to solder the switch and the wires.
But that will come later in the article. When you purchase the solar panel parts, make sure they are not too big or too small because we will glue them to the opposite sides.
The regular LED lights should function well in type and color, but using the 0.5 LED stray hat white is the best option as it will produce bright, intense light, ensuring your living area is well lit. You will need a solar panel to capture the sun’s rays and convert them into electric energy.
You can find excellent solar panels on Amazon at a relative price. It would help if you had a small solar panel of 40 mA, and 2V is good enough to charge the AA NiMh batteries. The AA and AAA batteries are perfect and will work well with the battery holder. You need to make sure the batteries are rechargeable.
The best batteries are always nickel-metal hydride batteries because they can retain charge for a long time and are suitable for any weather compared to nickel-cadmium batteries.
It would help if you always replaced batteries to avoid overcharging them.
First, you will need a PCB circuit board with dusk till dawn photo switch regulator that always stops charging at night. A PCB circuit board with an inbuilt element is always the best, but you can always design one yourself to get one. The PCB board should be just the lid’s perfect size as it will be placed under the lid and enable it to close well.
When choosing a jar, you can get anything perfect for you, but it is always good to use a pickle jar. Use a drill to make a hole on the lid, and if you do not have a drill, you can always find something sharp in your toolbox to puncture the lid.
Get things ready? Here you explore 8 steps to make a solar light from scratch. We include these effective steps in this list after analyzing several work strategies.
You can get a look at the list to make your solar light-making plan. It is not a mandatory list but helpful to every DIY lover who explores solar lights.
You can add or remove one or more steps from the list below when making your first solar light. It will enable you to do the work independently.
1. Buy Your Products
When making something at home, you will assemble different devices and equipment to give a complete look.
You don’t need raw materials like factories or industries. You can not make everything at home.
So, the best way is to buy necessary products, including spare parts and installation kits.
It is important to buy high-quality products from a renowned manufacturer. You can follow these three steps to get the best products for your solar light.
Check the Brand
Try to collect products from a well-known brand. It will ensure good quality, service, and warranty. You can count on the product for long-lasting service.
Quality
Never compromise the quality of the product. It is mandatory to select high-quality products at affordable prices.
Warranty
DIY products like solar panels might need several changes. In case of difficulty, you have to repair it by yourself. So, try to add equipment that comes with a warranty.
Compare the Price
Compare the price of the same product from different manufacturers. It will help you to buy the best product at an affordable price.
By following these easy steps, you can buy the necessary products for your solar light.
2. Wires Preparation (Trim and Cut the Wires)
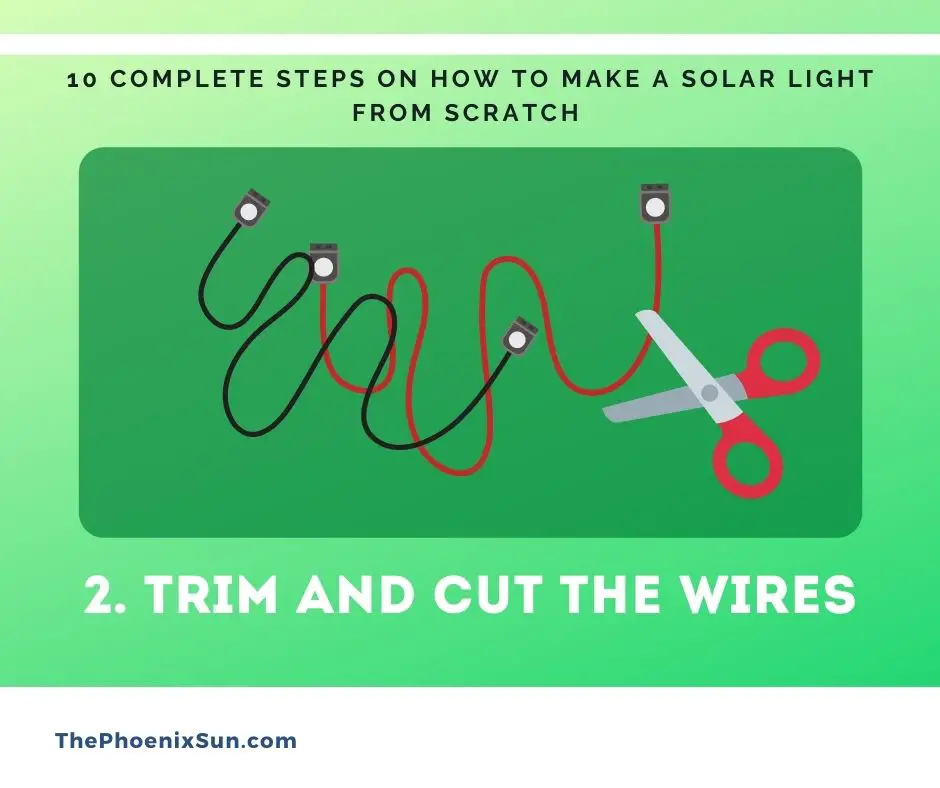
Wiring is the most crucial part of making a solar light from scratch. A single mistake can destroy the devices and parts of the light.
Select the wire and put it in perfect measurement. Remember, the wire will supply electricity to the light, therefore don’t make any errors at this step.
Before connecting the wire, you have to trim it perfectly. A perfect trimming will enable you to attach the cable in the right place.
Cutting is also important for attaching different edges with perfect connection. Besides, you should be aware of the distance of cable from one side to another. The unnecessary cable can make a short circuit. It will reduce the lifetime of the cable.
3. Connect Light To Circuit Board
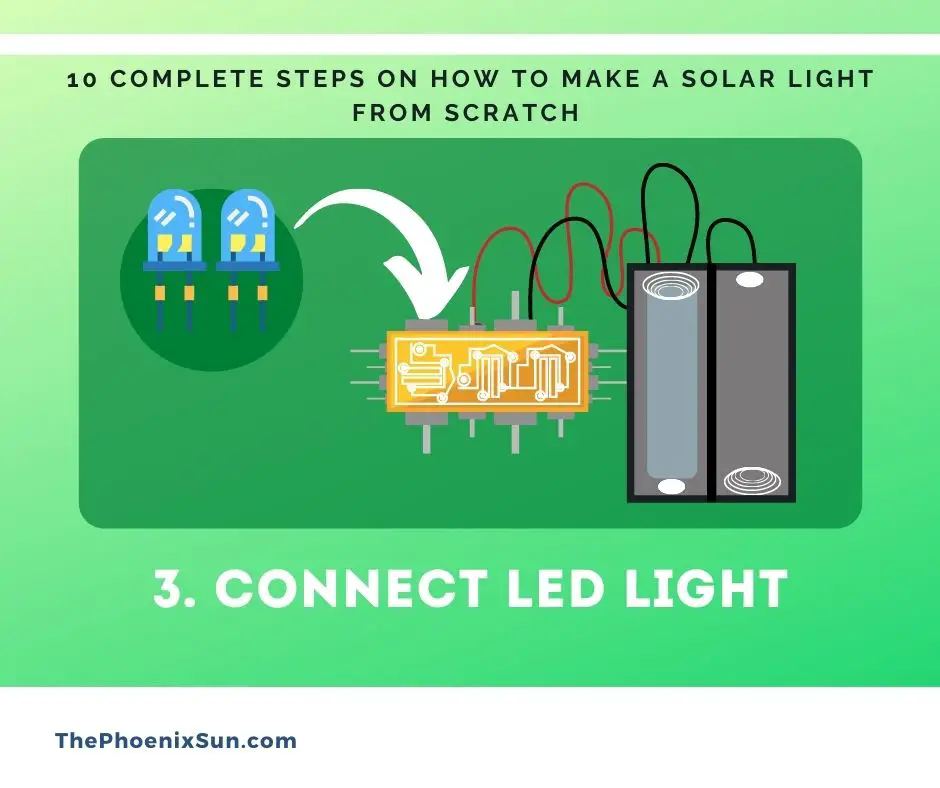
You are going to make a light with several pieces of equipment. A Circuit board is the heart of an electrical device.
In solar light, circuit boards keep a connection with cable, battery, and light. You have to connect the light to the circuit board perfectly.
The light will get power from the board through the cable you have already installed.
Before you finish everything, measure the voltage to connect it correctly.
Also, check the connecting ports and hubs to get a safe operation. In general, there is no compact connectivity while connecting the light to the circuit board.
All you need is a good and secure connection for lasting operation.
4. Connect Circuit Board to Battery Holder
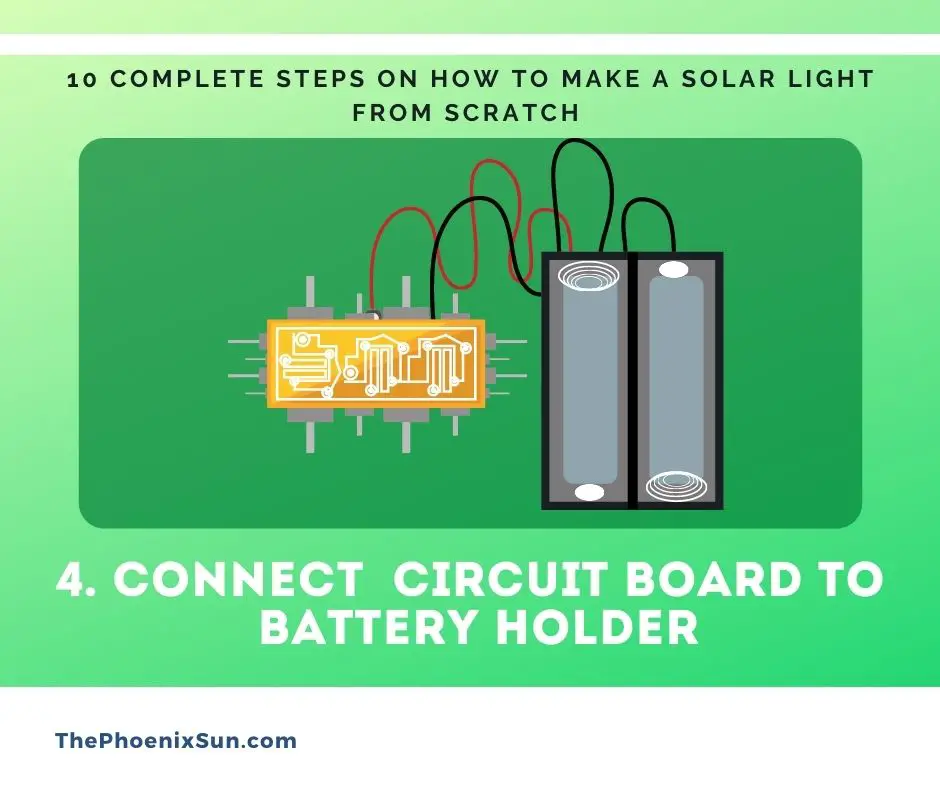
You can not run solar light directly from the solar panels. You have to connect the circuit to the battery.
The battery will receive power from the solar panel through a charge controller. This power will be transferred to light via a circuit board.
Connecting the circuit to the battery is a technical part of making a solar light from scratch. You have to understand the input and output voltage.
Depending on the connection type, you need to think about cable length, thickness, and an inverter.
It is easy as you read. You can do it within a few minutes, and the technical work is the same as connecting electrical light on the light holders.
5. Drill the Lid
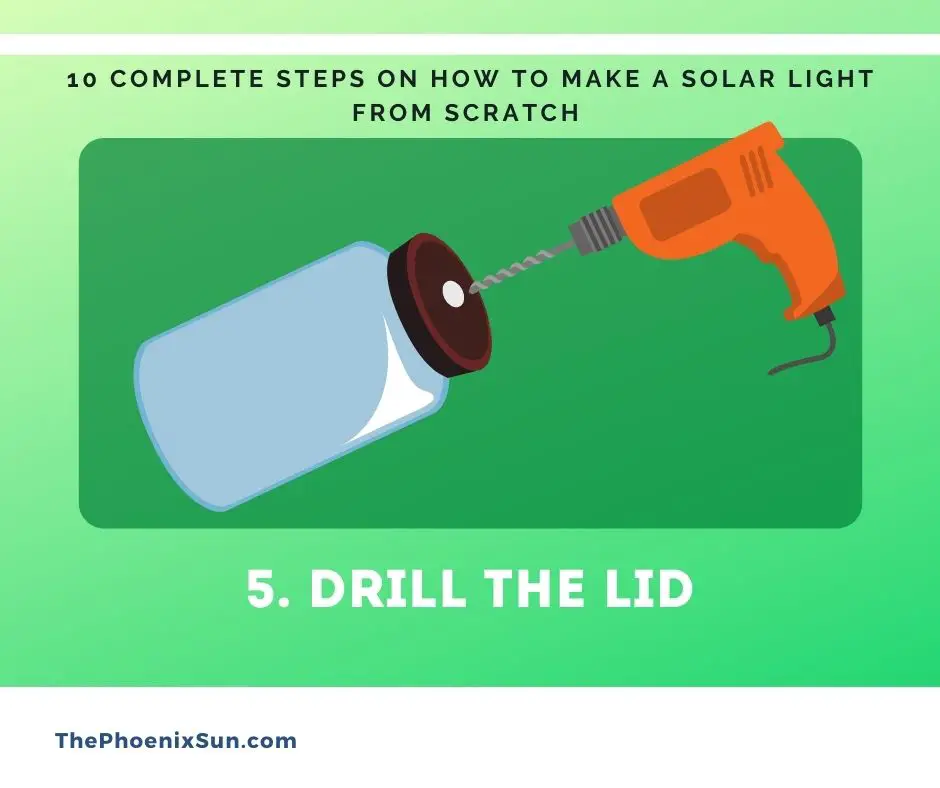
Place the circuit board aside and take the lid of the jar. Puncture a hole on the jar’s lid, and be careful not to place the lid on a surface that might damage it. Ensuring that your hands should not be closed when you are drilling as you might end up hurting yourself. The hole you drill needs to be in the lid’s center to stabilize the panel and allow the red and black wires to fit well.
6. Connect Solar Panel with Circuit Board
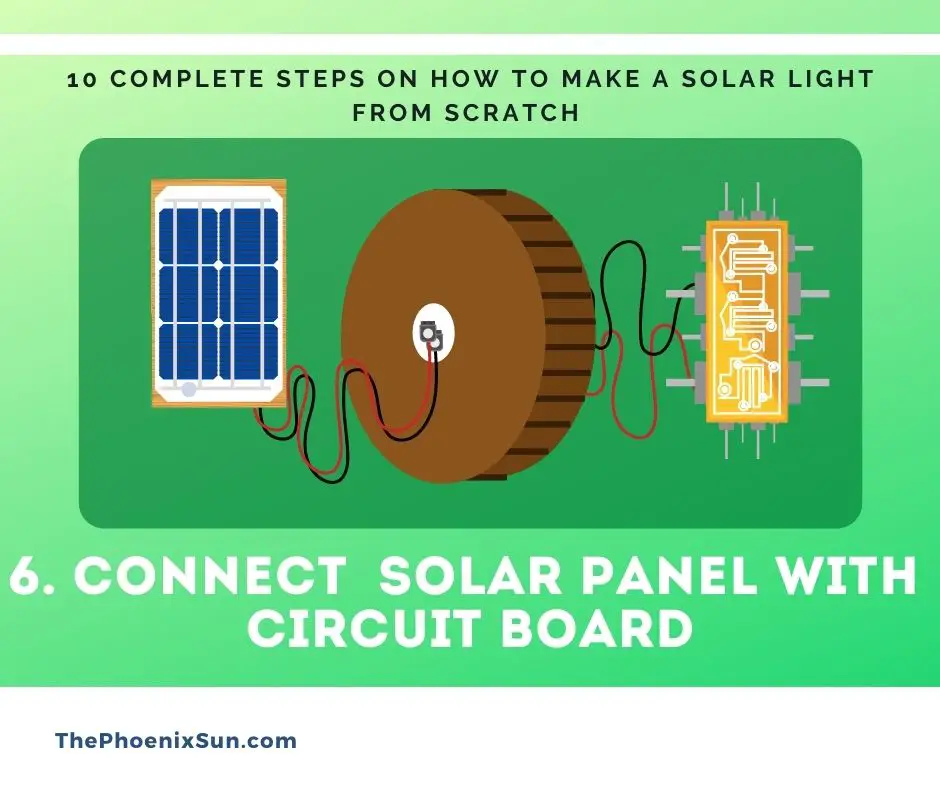
You have already put the solar panel outdoor or in a place where sunlight is available. Now, it is time to connect the solar panel to the circuit board.
The solar panel will get power from the sun and take it to the battery. The solar circuit board is responsible for receiving power from the solar panel and supplying it to the circuit board.
It is very simple, and the system will automatically generate and provide power to light.
You have to recheck all the connections before putting the solar panel under the sun. Solar panels and circuit boards work together to provide power to the light. Keep everything updated and secure.
7. Glue-All the Parts Together
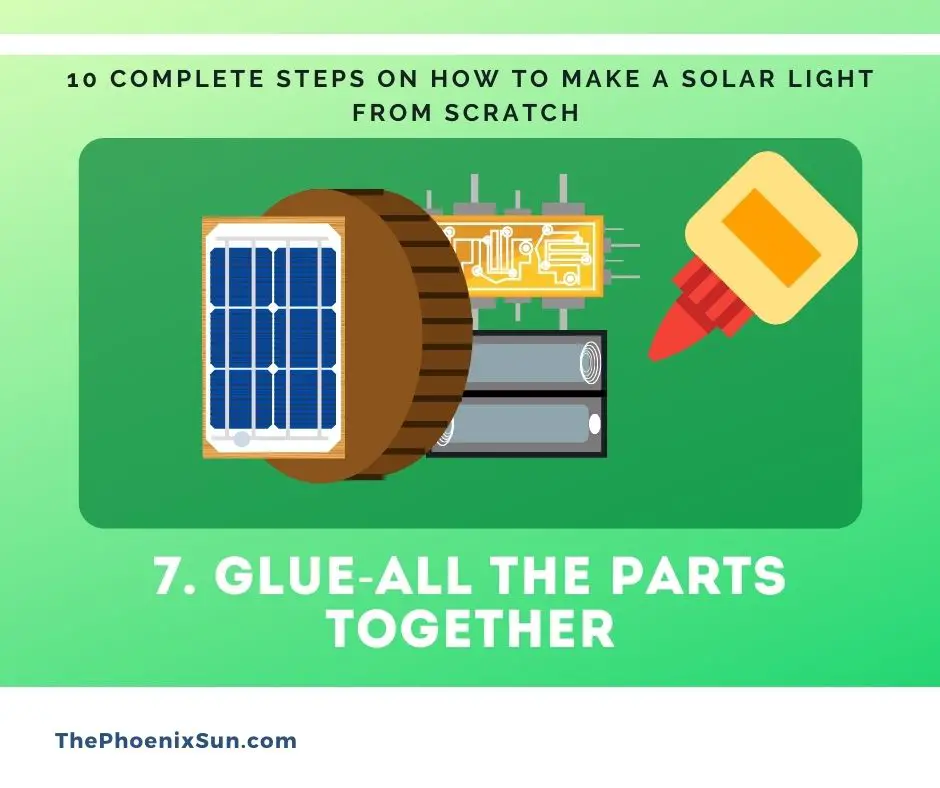
You have already collected all the parts and installed them properly. So, put them together and attached all the parts with enduring glue.
You can use general waterproof glue that is suitable for plastic attachment. A tight bonding keeps all the parts secure.
In this step, you can ignore glue if you have a design that can be attached with screws. But, it will be a strong bonding when using glue and screw together.
We recommend both of these to get sturdy and long-lasting solar light.
Before purchasing the glue, you have to verify the quality and durability of the glue. Ask the seller and describe that you want glue for solar light attachment. A wrong selection will destroy the bond after a few weeks.
Use super glue or hot glue to stick the elements together firmly. Gently apply glue on the solar panel side and firmly press the wires beside it to stick well together. Close the lid of the jar, and just like that, you have a solar light.
Congratulations!
Uses of a Soldering Iron
When using a soldering iron, we are more flexible, and connecting elements together in different ways is relatively easy. You must also be comfortable using the soldering iron.
Solar Panel
If you buy a solar panel that does not have an inbuilt wire by any chance, it is quite simple to fix them using a soldering iron. The solar panel has a positive and a negative terminal; make sure the positive wire is connected well to the positive terminal using a soldering iron. The same applies to the negative wire.
7. Install Your Switcher
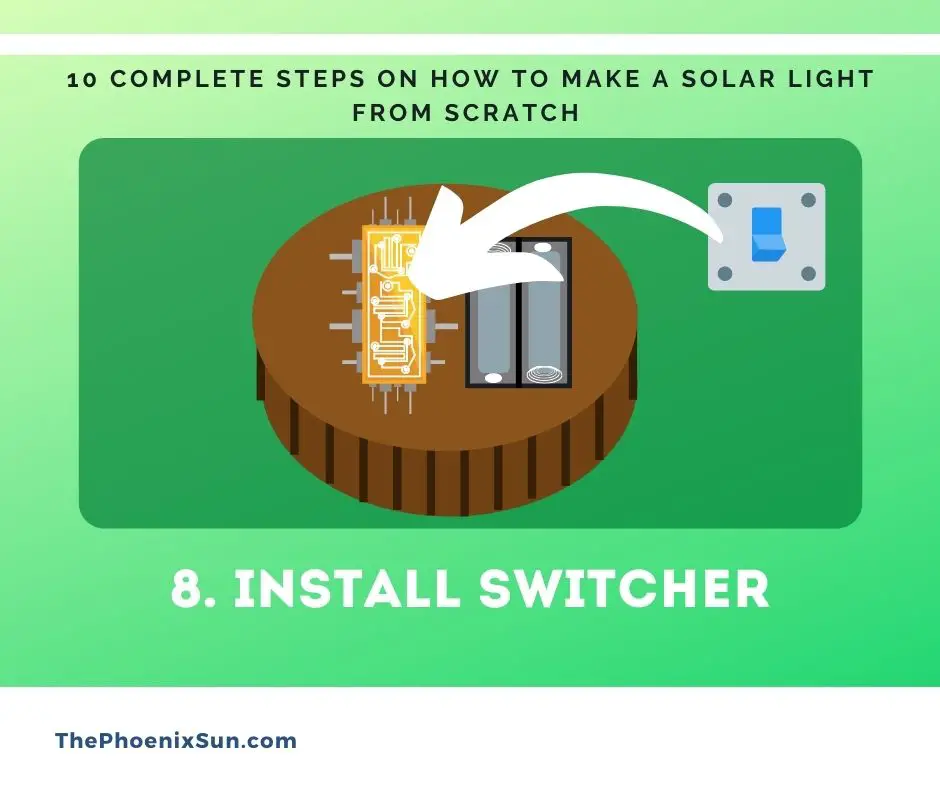
A switch between the solar light and battery will enable you to control the light fully. It will also help you to save electricity.
Solar light needs special solar switches that work great with DC and AC output. A high-voltage switch can not work with solar panels and light.
Select the light from a famous brand and ensure its warranty, durability, and connectivity.
When installing the switch with the solar light, try to keep it in a place that can be easily accessible.
You can also install a switch with two power modes. One for the high light and another for the low light. It will help you to get lights according to your needs.
Some circuit boards do not come with a switch, which means you will need to buy one from your local store and use the soldering iron to connect the switch to the board. Make sure to cut the red wire on both sides and ensure that the striped side is 1.5 inches long. After that, solder the exposed wire to the terminals of the switch.
9. Choose Your Location
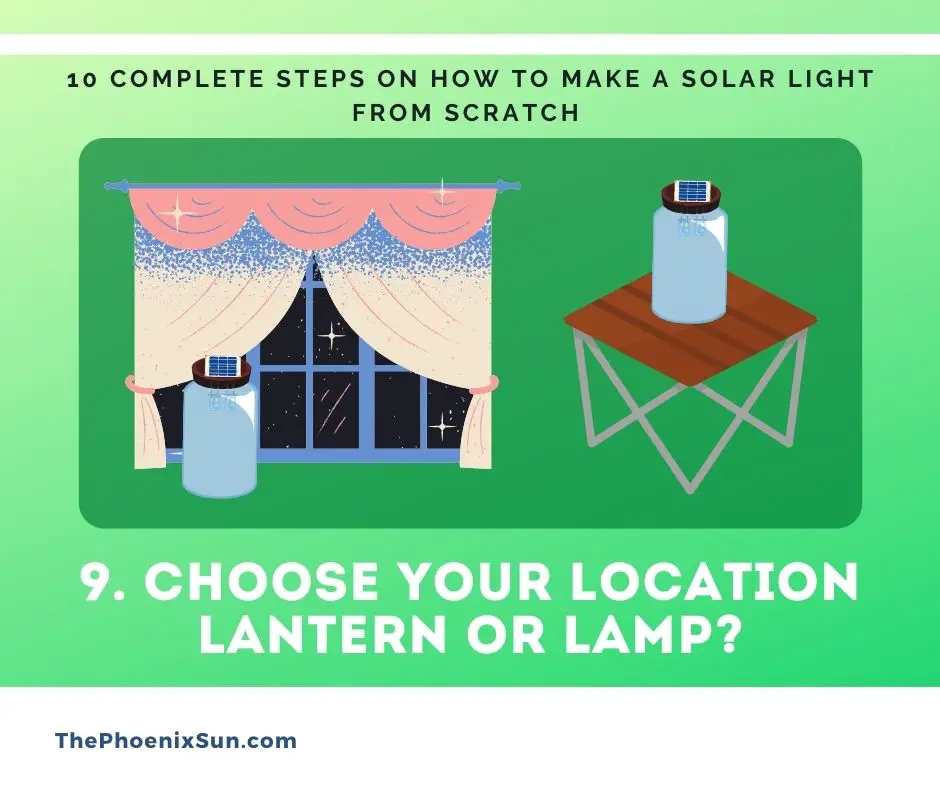
Everything is set now. You have a complete solar light on your hand. Now you can get brighter light even during the power cut.
You can brighten your house without the grid. So, You should select the best place for installing the light.
You might have selected the place when making the scratch. Keep your light there and add the installation frame and screws with perfect measurement.
It is better to install them in a place where it can spread the light throughout the room space. You will get powerful brightness for everyday usage.
Thus you can install your solar light in the right place that you have made from scratch.
10. Testing It
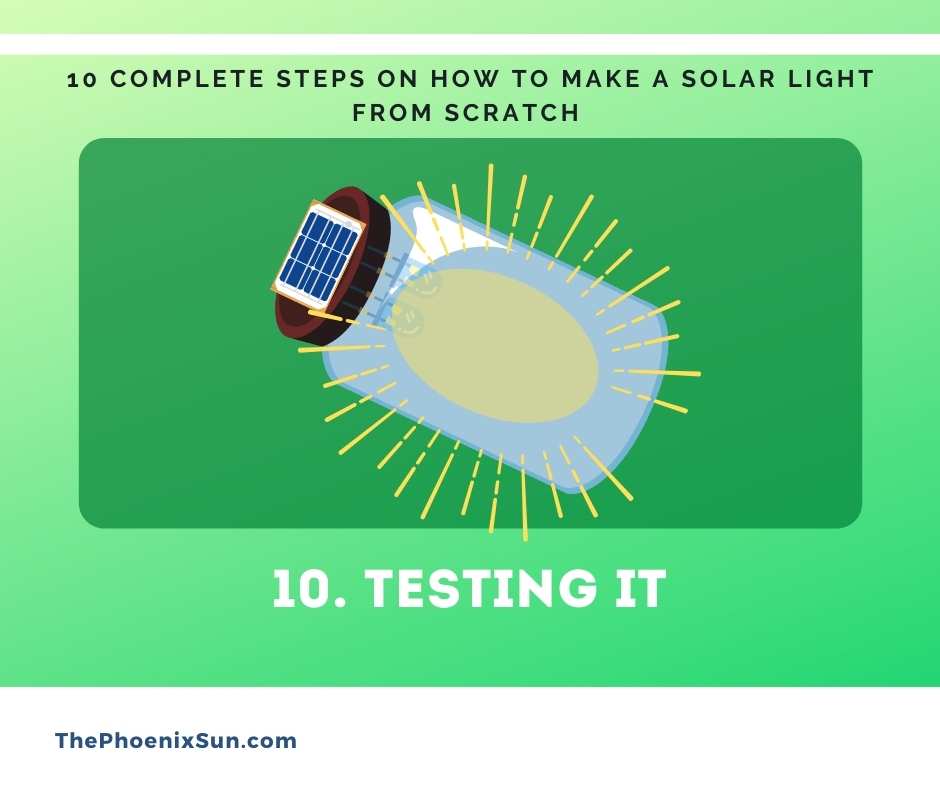
So, what about the performance of your DIY solar light?
For any electrical device, especially solar power, you should test the performance. You can do it with some steps.
Test the Energy Production
First, it is important to check the energy production rate of the solar panel. You can not run the solar light without sufficient energy and expect perfect brightness. Low voltage will provide you with less brightness than the efficiency of the solar panel.
Check the Output
When solar panels produce sufficient energy, the battery will provide you exact output for the light. Check the performance of the battery. You can compare the charging and discharging performance of the battery.
Check the Performance of the Light
If everything goes well, you should receive enough power to operate the light. The light will provide you with more brightness, and you can measure it with lumens.
Maintenance Your DIY Solar Light
Once you have your DIY solar light or lantern or lamp, the next thing you need to do is to maintain the solar light. Changing the solar batteries every three months is recommended to ensure that your solar light lasts for a long time. Cleaning the solar light is the next ideal thing to do.
Please make sure you always keep the solar light clean, preventing it from getting dust or dirt. Dirt can prevent the solar light from illuminating your living area if you intend to use it there. The solar panel will also be blocked from receiving direct sunlight, which is essential to keep the solar light operational.
When it is rainy, do not place a solar light on a dump area as that will bring molds and eventually prevent the solar panel from working. The electrical components might also get damaged.
Find the price here in the list.
- Hot glue gun or superglue
- Jar
- Led lights
- Soldering machine
- Battery holder
- Solar panel 2Volts
- AAA NiMH batteries
- PCB circuit board
Solar Lights in Places with No Electricity
Solar lights are not only used for decorative purposes but are also used to light up our day-to-day lives. There are frequent power shortages in places like the Philippines and India, making most people rely on kerosene to light up their homes. Kerosene is expensive and cannot be afforded by most people.
That is why using solar-powered lamps is incredibly essential. They only need sunlight, and they will keep your home lit all night. That is why many associations are trying to teach people living in areas with frequent power outrages how to make a solar light using plastic bottles lying around.
Once they learn how to make solar panels themselves, they can always act as an energy source during rainy days. It might still be hard for such people to acquire solar-powered lamps as they cost at least $20 per light bulb.
Wrapping Up
In conclusion, you can make a perfect solar light for your home or outdoor usage. You can complete the process with some simple steps.
However, a homemade solar light has some limitations. You can avoid them by adding the best quality products.
On the contrary, if you want extra brightness and a light from a professional manufacturer, you can buy a complete solar lighting package from a famous brand.
But, custom light will give you more control over your lighting demand and easily set on the place. Don’t hurry for results and follow the steps.
The light will enhance your nighttime experience at an affordable price.
Our honest thought: Buying a new solar light is a great idea, but making one for yourself is much fun. It can also be an excellent time to bond with family and friends.