Commercially available solar systems can be costly. Are you happy if you can make your solar panels from scratch?
When it comes to building a solar panel, the first step is making a frame.
The second step is to purchase and connect the solar cells, fourth-construct the panel box, fifth-wire the panel,lastly-install the complete solar panel.
Solar power isn’t a stagnating industry. Solar power, a renewable energy source, doesn’t negatively impact the environment and reduces its carbon footprint. Solar systems also aid in minimizing energy bills.
Contents
- 11 Steps Making Solar Panel from Scratch
- Step 1: Create a Frame to support the solar cells
- Step 2: Purchase Solar cells
- Step 3: Tabbing the solar cells
- Step 4: Testing the solar cells
- Step 5: Prepare the solar panel’s front and backside
- Step 6: Assembling the solar cells
- Step 7: Testing the solar cells strings
- Step 8: Attaching the strings to Acrylic Backing
- Step 9: Connecting the solar panel strings
- Step 10: How to install the junction box
- Step 11: Assembling the solar panel
- How Do You Build A Battery Bank For Solar?
- Making Solar Panels from Scratch FAQ
11 Steps Making Solar Panel from Scratch
[adsforwp id=”945″]
Making Solar Panels from Scratch is possible, yes. But you need to carefully follow the 11 steps below to successfully make it. Step #8 is the most difficult one. Before practicing it, you need to read and look at the photos carefully.
Step 1: Create a Frame to support the solar cells
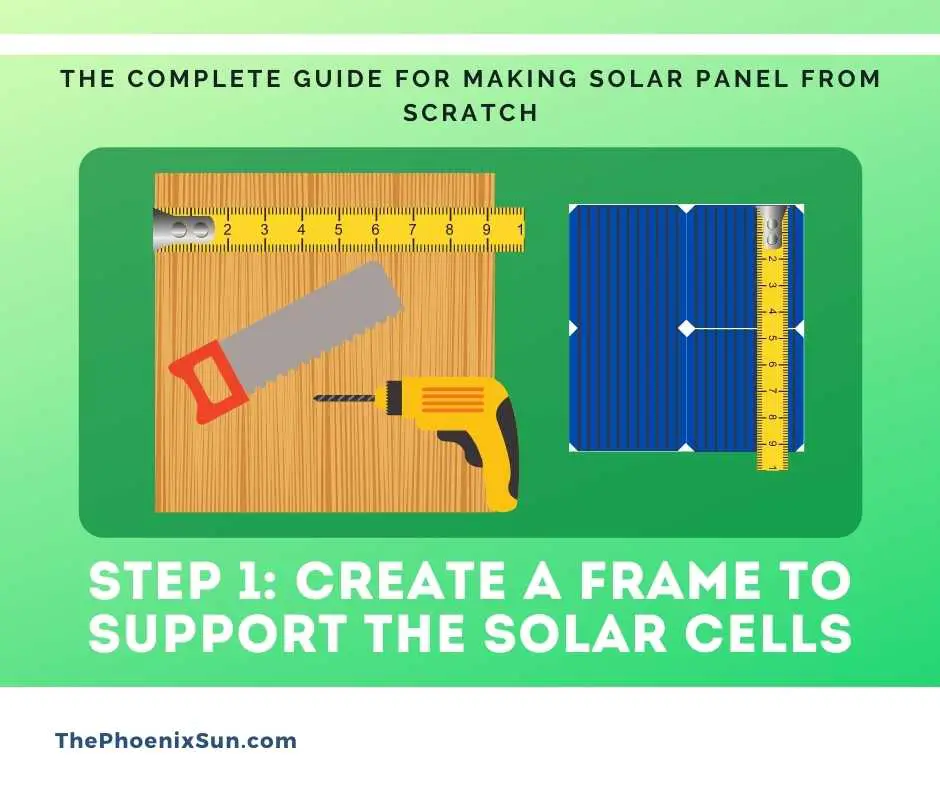
Step one is creating a solar panel frame. It serves to protect the solar system’s inner components from mechanical and thermal tensions. The use of a frame protects solar cells because of how fragile they are. The mountiNg attachment points within the frame come in handy when installing the panel on your roof.
The frame must not have sharp edges. It must be mechanically and electrically conductive, not forgetting earthing it too. Wood, plywood, glass, and plastic may be used when making the frame.
[adsforwp id=”945″]
Step 2: Purchase Solar cells
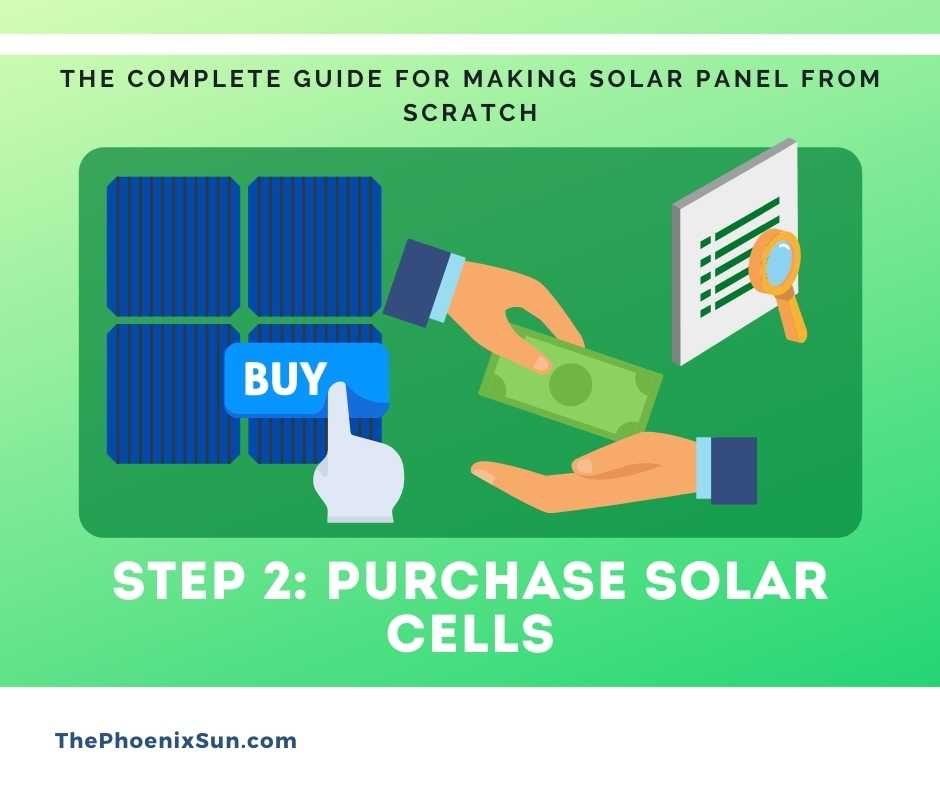
One of the components of solar cells is a semiconductor material known as Silicon. The cells acquire solar energy from the sun and turn it into Direct Current (DC). Later on, the DC is turned to Alternating Current (AC) by using an inverter. We power our homes using this Alternative Current.
Various manufacturers produce numerous solar cells, but the most respected manufacturers are based in the US, China, and Japan. When looking at cost, Chinese sellers have the cheapest solar cells, but the cells don’t come with any guarantee whatsoever. American Manufacturers have higher quality; thus, their cells are more costly.
When you are trying to figure out the number of solar cells you should purchase, you should know that this will entirely depend on the amount of power you’re trying to produce. Please consider the following when you’re buying the solar cells;
- Solar cells are highly fragile; thus, please ensure to buy extra cells.
- Once you’ve ordered the cells, the Manufacturer will ship the cells with wax on them. Having wax on them is for protection purposes. Wax can be easily removed from the solar cells by dipping them in hot water.
- The cells can easily be bought online, or you could also create them yourself.
- A cell should cost less than $2 per watt.
- Solar cells are made in different sizes. A standard cell is approx 6 inches in width. Its production is 1.75 watts per cell. If you yearn for more power, please buy more giant cells.
- A Monocrystalline solar cell is a bit expensive. Polycrystalline solar cells are the best cost-effective alternative.
[adsforwp id=”945″]
Step 3: Tabbing the solar cells

It’s possible to buy pre-tabbed solar cells; they are incredibly expensive. Solar cell tabbing is a crucial process, and the required precautions should be taken before the solar cells are to be tabbed.
A few of the precautionary measures listed below are as follows:
- Ensure to always wear your gloves when handling your solar cells.
- These cells should be handled extremely carefully because they are highly fragile.
- When soldering, ensure putting on a mask plus safety glasses to protect yourself from fumes and flicking solder.
Solar cell tabbing can be achieved by welding the wire to the solar cells contact points. Detailed steps of the solar cell tabbing are given below:
- The solar cell should be placed in a clean room with a negative part facing upwards.
- The flex pen should be rubbed over the touch strips. These are two lines through the solar cells.
- Please note that each piece’s length must be twice the solar cell’s height when cutting the tabbing wire.
- Take the piece of tabbing wire, then place it on the contact strips. Tabbing wire is coated with solder already. You will need to heat the soldering iron and solder the tabbing wire to the solar cell. Place the piece of tabbing wire on the contact strips. The wire is already coated with a soldier. Place the soldering iron on heat and weld the wire to the cell.
If you do not wish to go through this process, I’d advise you to buy pre-tabbed solar cells.
Step 4: Testing the solar cells

Testing is critical because one solar cell can impact the whole panel’s output. You are required to test for both current and voltage.
Voltage Testing
- The solar cell should be placed in sunlight.
- Please ensure the black lead is plugged into the black port and the red lead into the voltage port to check the voltage value.
- Place solar cells on a clean surface with the positive side facing up.
- The touch multimeter’s black leads to the solar panel’s harmful contact, and the red leads to the solar panel’s positive contact.
- Note the voltage value on the multimeter. The voltage value for standard 1.75-watt solar cells is about 0.5 volts. If you notice the voltage value is less than 0.5 volts, that specific solar cell is most likely defective.
Current Testing
- Place the cell in the sunlight.
- Plug the multimeter’s black lead into the black port and red lead into the Amps port. This is to check the Current value.
- Turn on the multimeter. Put the dial of the multimeter in the amps position.
- Place solar cells on a clean surface with the positive side facing up.
- The touch multimeter’s black leads to the solar panel’s harmful contact, and the red leads to the solar panel’s positive contact.
- Note the current value on the multimeter. The current cost for a standard 1.75-watt solar cell is about 3.5 amps. If the value is less than 3.5 amps, that specific solar cell is most likely defective.
[adsforwp id=”945″]
Step 5: Prepare the solar panel’s front and backside

After you’re done testing the solar cells, you can now move on to constructing the front plus the panel’s backside. The front side panel will be clear sheet acrylic, while the back will be a white acrylic sheet. The cells should be sandwiched in between these two sheets. Acrylic sheets tend to be most preferred because their material is durable, weatherproof, and corrosion-proof.
The sheet’s dimensions must be equal to that of the solar panel. Please note that approximately 0.25 inches of space between each cell shouldn’t touch each other when calc dimensions. Also, leave approx 1-2 inches of additional space on the panel’s outer edge to make room for wires and frames. After finalizing the calculations is when you’ll cut the two sheets.
Step 6: Assembling the solar cells

In step 6, plan at which position each cell will be placed. Later on, you can begin connecting the cells. In order to get the highest voltage, the cells must be connected in series. For instance, if you have 36 sections equalling 63 watts, the best layout would be four solar cell columns, each having nine cells connected in series.
- The bottom of the cell is positive, while the top is negative.
- Place both cells on a clean surface with positive sides facing up.
- By using the soldering iron, connect both cells using the tabbing wire.
- Like soldering batteries, the first cell’s positive side is connected to the next section’s negative side.
When connecting, the rest of the cells repeat the above steps.
Ensure to join as many solar cells as required to reach the least voltage of 12/24 volts. This voltage is needed to start a 12-24 volt inverter. The voltage is converted to 110/220 volts AC by the inverter.
[adsforwp id=”945″]
Step 7: Testing the solar cells strings
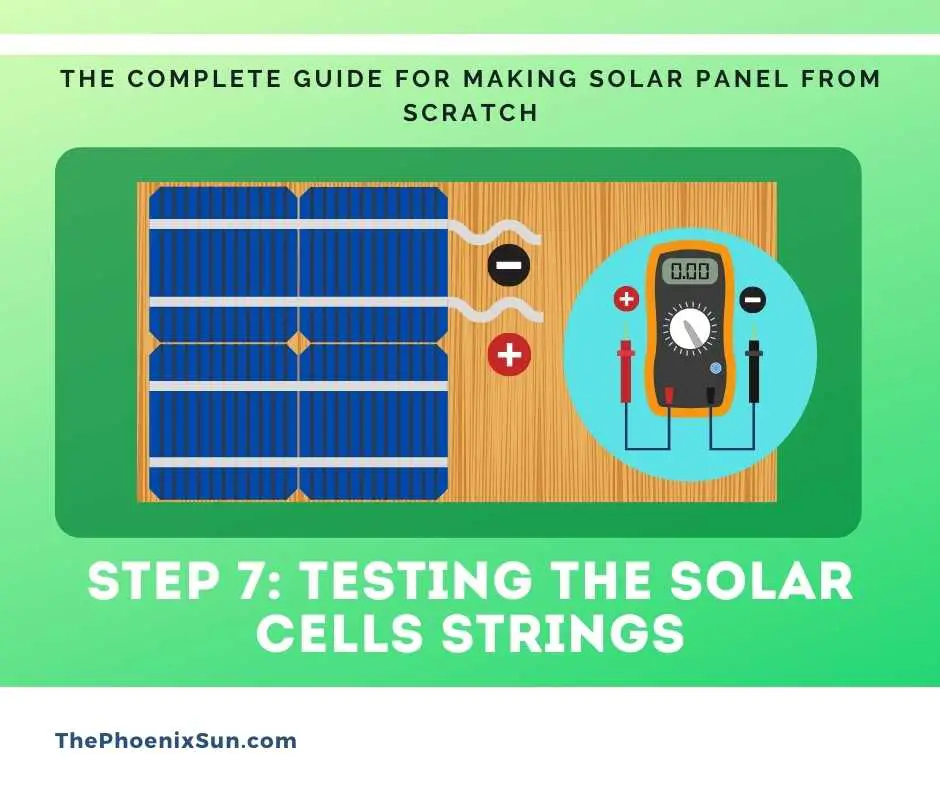
Once the cells have been connected, ensure the strings are working correctly, meaning they provide the correct Amps and Volts.
Place the solar cell strings in sunlight. You can use the multimeters to probe each solar cell string’s current value and voltage.
Step 8: Attaching the strings to Acrylic Backing
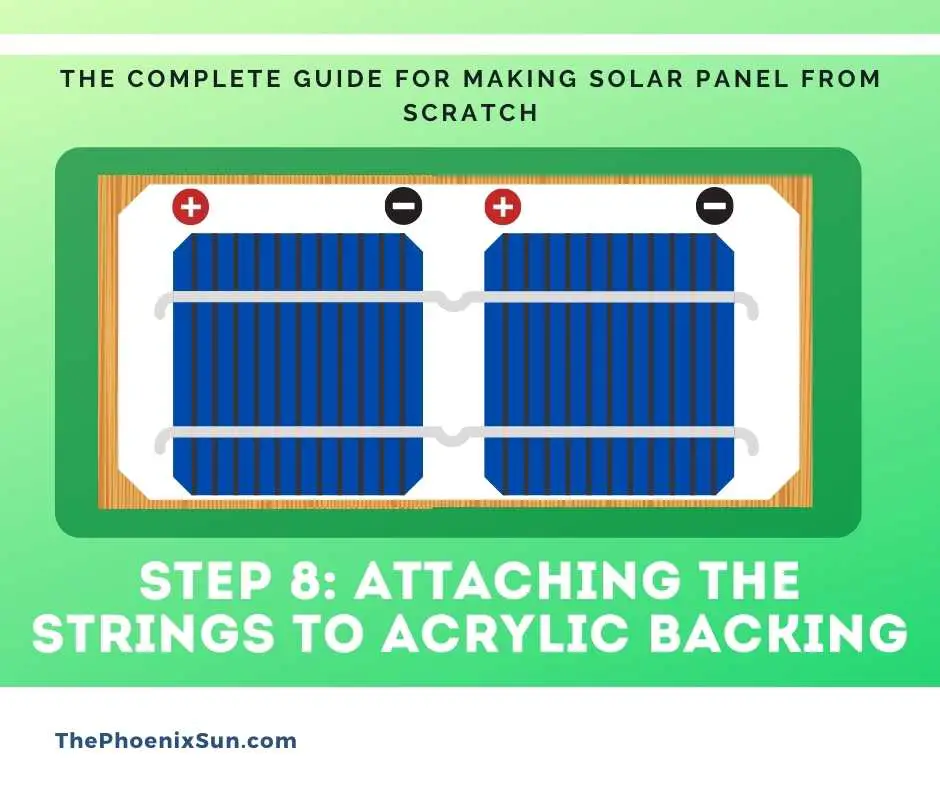
I’m sure that now your solar cells are firmly attached to the acrylic sheets(backing), as discussed in step 5—steps to follow when you’re attaching the strings to the backing.
- Place the acrylic sheet on top of a clean surface.
- Place the stringers on a surface with the positive side facing upwards.
- Apply just a small amount of Silicon on the positive side of each solar cell for each string.
- Put the strings in alternate positions on the back of the acrylic. This string connection method is called series wiring. It helps to increase the cumulative voltage value of the panel.
Step 9: Connecting the solar panel strings
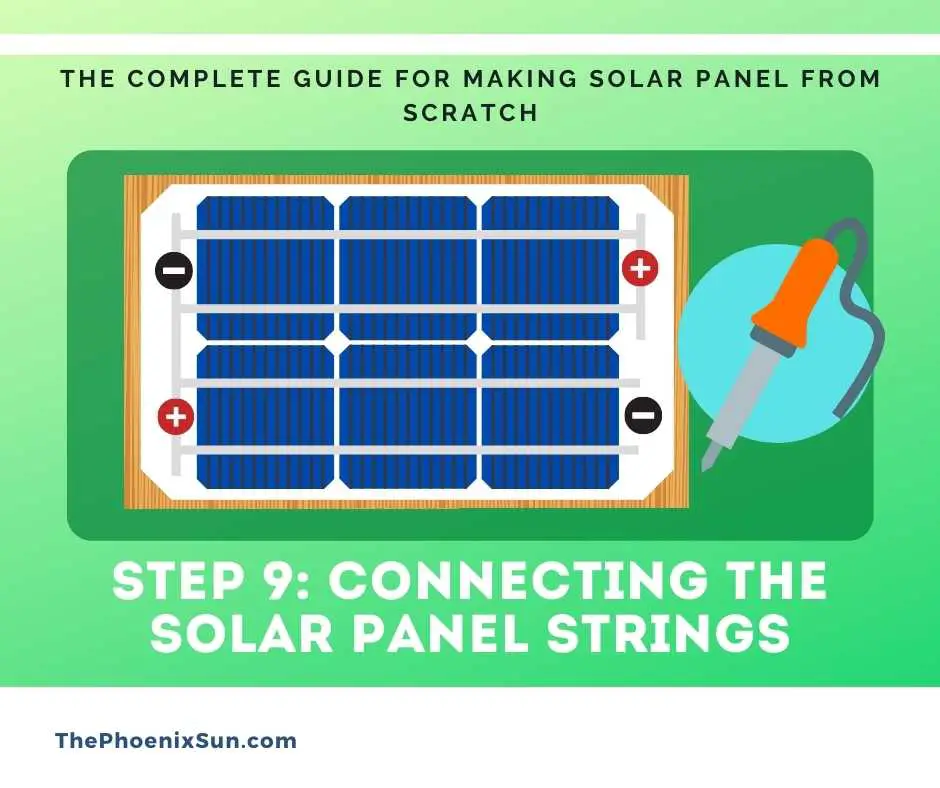
Once the strings are backed, the next step is to connect the strings. In this process, a bus wire is used. You can use solder, flux, and a soldering iron when connecting the string.
Step 10: How to install the junction box
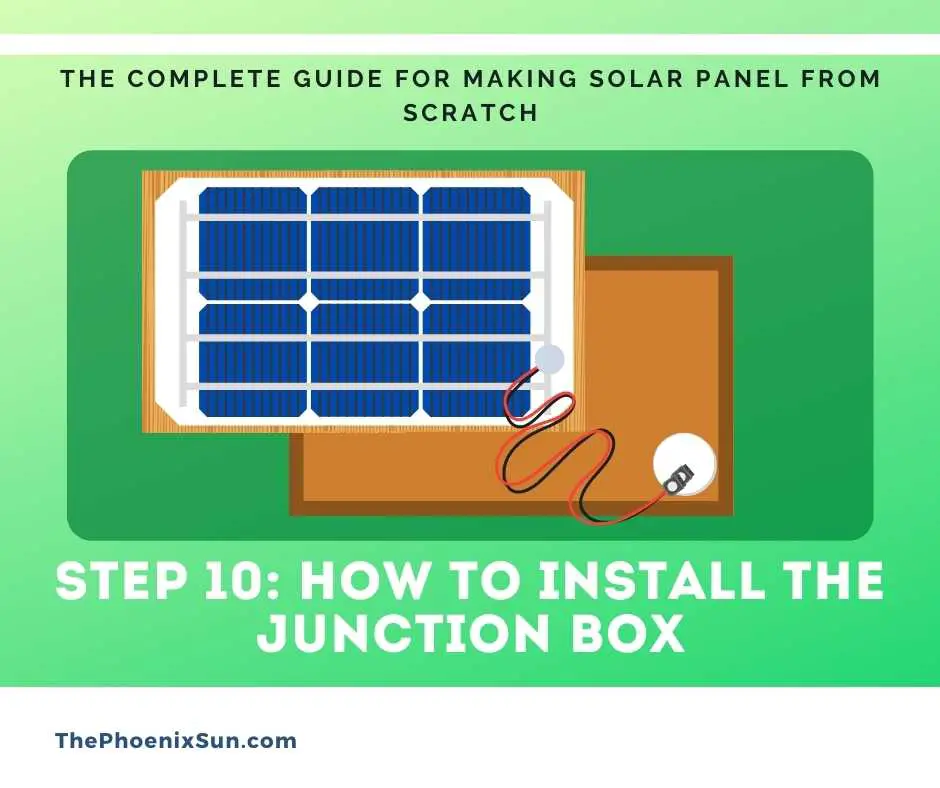
In step 10, we will install the junction box at the back of the solar panel.
- Drill a chase nipple-sized hole in the panel top and the junction box. The chase nipple will circumvent this hole back into the junction box from the panel.
- With the help of Silicon, the line attaches the junction box at the solar panel’s back. Apply gentle pressure at the junction box, then wait for the Silicon to dry.
- Attach the double terminal strip to the junction box (remember to have it inside) using Silicon.
- Insert the chase nipple into the junction box. Remember, insert it through the hole.
- Pass two low gauge wires through the chase nipple.
- Solder the low black gauge wire to the negative bus wire contact point and the red gauge wire to the solar panel’s positive bus wire contact point.
- Repeat step #6 for the other side of the solar panel.
- Connect the red wire with the connections (4 connections in total – you only need to connect to one) in the terminal strip and black wire with the other contact on the terminal strip. In order to connect these wires with the terminal strip, loosen the screw, pass the wire through it, and then tighten it again.
- Similarly, the two other wires must be connected at the terminal strip’s bottom connection points.
- The other end of these wires needs to be going into the inverter, which will convert DC into AC power.
Step 11: Assembling the solar panel
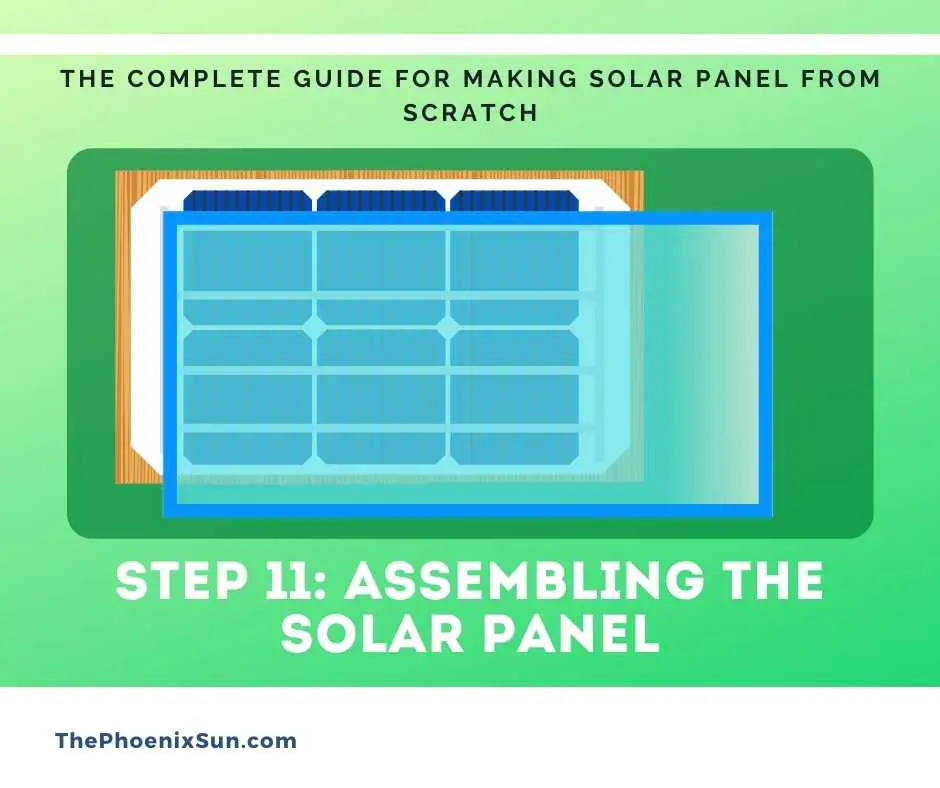
This last step involves assembling all the constituent parts. Place the transparent acrylic sheet on top of the panel. Now place the whole panel inside the frame you prepared first. The panel is now ready. Please, test its output to make it work well.
Now, you are completely making a solar panel yourself from scratch. The next information I would give you to read is the effectiveness of the materials.
What materials do you need to make a solar panel?
List of materials required in the making of a solar panel at home:
- Solar cells
- Solar Bus wire
- Solar tabbing wire
- Flux Pen
- Soldering iron
- Silicon sealant
- Gauge wire
- Wood or glass or aluminum
- Drill and screws
- Acrylic sheets
- Multimeter
- Wire Cutter
[adsforwp id=”945″]
How Do You Build A Battery Bank For Solar?
It’s possible to build your battery bank to supplement your solar panel. I’ve outlined some necessary steps you should follow when designing and creating your battery bank.
Calculate your load
The load is the amount of electricity you usually use on a day-to-day basis. This can quickly be done by carefully examining your electricity bills for the last 12 months. Once you get that amount, divide it by 365 to acquire the load.
2. Calculate the Backup power
Once you know your load, the second step is to calculate how much backup power you require. Usually, people need a backup power of roughly 2-4 days.
3. Connect batteries
There are two ways to connect several batteries. Each method has specific advantages.
In Series
This arrangement produces much more voltage value when one positive terminal is connected to another battery’s negative terminal.
In Parallel
This is when the positive terminal of one battery is connected to the next battery’s positive terminal. The same goes for the negative terminals.
This arrangement increases the total capacity of the battery bank by increasing amp-hours.
- Sizing the inverter
The inverter is one of the most critical parts of a solar panel.
It transforms both the solar panel’s DC output and the power stored in the batteries into usable AC. Keep in mind that the inverter does not have storage capacity and should be large enough to handle the maximum load imposed on it in case.
Making Solar Panels from Scratch FAQ
Can I set up my solar panels?
According to the EnergySage Solar Marketplace study, a solar panel’s design and construction cost about 10 % of the total cost. If you mount the panel yourself, you can theoretically save a lot of money. A skilled artisan may build and install a solar panel, but it is often recommended that a licensed professional be employed.
The solar system has been in service for about 25-30 years, so you must understand the initial expense and relative benefits. If you buy the material and mount the panel on your own, it will cost you less, but consistency will be compromised.
The material available online will not be of the same standard as licensed solar panels with 20-25 years of warranty.
Is it permissible to live off the grid?
“Off-grid living” means the disconnection from conventional grid energy and your power generation from alternative sources such as solar power, wind power, etc. A lot of people want an eco-friendly lifestyle and a healthy world.
Removing the grid reduces the use of fossil fuels, decreases the carbon footprint, and contributes to a clean and sustainable world. Unfortunately, it is illegal in the US to disconnect from the public utility system completely. Additionally, some countries are creating a grid-tied solar power system.
The power generated by your solar panel is used in a grid-tied system to operate your appliances at home. If you don’t have enough electricity, you can use conventional grid power along with it.
This would result in a drop in your energy bills. The excess power generated by the solar panel is fed back to the grid in return for energy credits. These energy credits can be used during wet weather and evenings. Some energy companies are also paying you for this excess electricity.
I am currently building a DIY solar panel. I am using panels supplied by ” FULL BATTERY” . I have watched your video with great interest. The cell i am using are different then the cell in your video. My question is how to fix the cells to the glass . Do i use tape and epoxy just like you have shown . or?
Thanks you so much for the guide on how to make a solar panel.
Are the outlined required materials highly available on market?
I want to try and make one
Can I know where is your country?